Creative 3D wall painting ideas for your home
July 22, 2021
How to paint the exterior of an old house: What you need to know
August 9, 2021Painting your interior walls is no easy task, but choosing to get the job done yourself can sometimes be a rewarding exercise.
Going down this route, however, means you need to be prepared and aware of what the task entails so that you can ensure your home looks as good as you feel.
A beautifully painted interior can create a comforting and energizing aura for you and your family, and blemishes in your paint job can ruin this tranquility, so it’s always a good idea to know what these problems look like and what you can do about them.
Interior walls are different when compared to the exterior and even though it isn’t exposed to the elements, it can still face a few issues that could ruin your interior paint job.
Bleeding paint
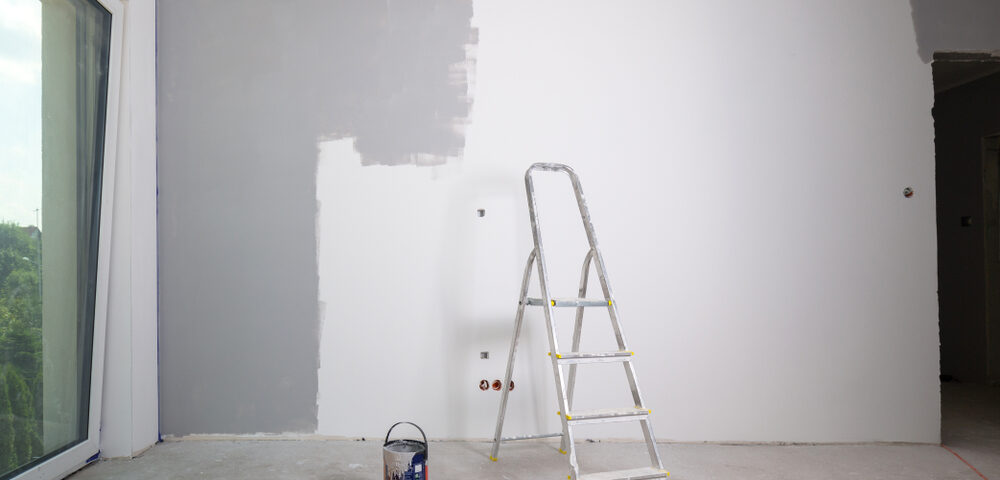
Bleeding paint may happen when you use two coats of paint (of different colors) on top of each other, causing the layer of paint underneath to bleed out and stain the outercoat.
Primer can solve this problem for you, but make sure you use some painter’s tape along the edges of the wall and the trim before you start.
Take a can of primer and using a paint roller, apply a thin coat of primer to the affected wall; wait till the first coat of primer dries, and then go ahead and apply the second coat and then give it some time to dry.
Now, you’ll need some latex wall paint for the next part. Use another paint roller to apply the latex paint onto the primed wall, using W-shaped strokes to cover the whole wall quickly. Remove the painter’s tape after the paint dries, and you’re done.
Now that should take care of any unsightly paint bleed 🙂
Paint cissing
You’re likely to face this problem if you didn’t prepare your exterior walls properly before your last interior paint job; cissing is when contaminants on your walls cause the paint to recede, creating craters and voids on your painted wall.
Sometimes, using water-based wall paint over a coat of oil-based gloss paint may cause this to happen, although it is more commonly due to improper removal of grease and grime from your walls before painting.
Addressing this problem will involve repainting your walls, but a little prep is required. Using a damp piece of sandpaper and a solution of kitchen detergent and warm water, rub the wall to remove the blemishes, then rinse and let it dry completely. You can now go ahead and paint.
Filler visible through the wall paint
Filler is essential for wall paint and is great for getting rid of pesky cracks in your wall but sometimes, it could start to show through your wall paint, resulting in dull interior walls after painting.
To prevent this from happening to your walls, make sure to sand them down after applying filler until you get a smooth surface to paint on.
You then need to apply some primer over the filler to prevent any subsequent coats of paint from being absorbed, then mix some emulsion paint with about one part water and apply it onto the wall.
Once the emulsion dries, apply a second, full coat of emulsion to finish the job.
Now your walls will have a nice smooth finish!
Wall paint losing its sheen
Glossy wall paint is great for majestic-looking interiors but some glossy paints may not always retain their shine forever.
Condensation and other factors like dirt and grime may cause the glossy paint to fade over time, resulting in a tired and worn-out look.
To fix this, you’ll need to sand down the affected areas with a damp piece of sanding paper and repaint the area. If you don’t want to sand your walls, paint over the affected wall with satin-based paint.
Say goodbye to interior wall paint problems!
Your home’s interior walls need TLC before and after painting so that you can create the perfect home for you and your family.
With these simple solutions, you can take care of common wall paint problems to keep your home beautiful both inside and out 🙂
Of course, don’t forget to look out for exterior paint problems too!
Good luck!
